Share to social media on iOS with UIActivityViewController
From UIViewController to screenshot to social media.

The problem:
You want to implement a share button that takes a screenshot from your app and let’s users share it to social media.
Caveats:
- You want to create a custom image by creating a custom UIViewController.
- You don’t want the UIViewController to show.
- You want to show a nice preview of the image that you’ll share.
You cant find the complete project on GitHub here.
Let’s get started with a clean project.
Project setup
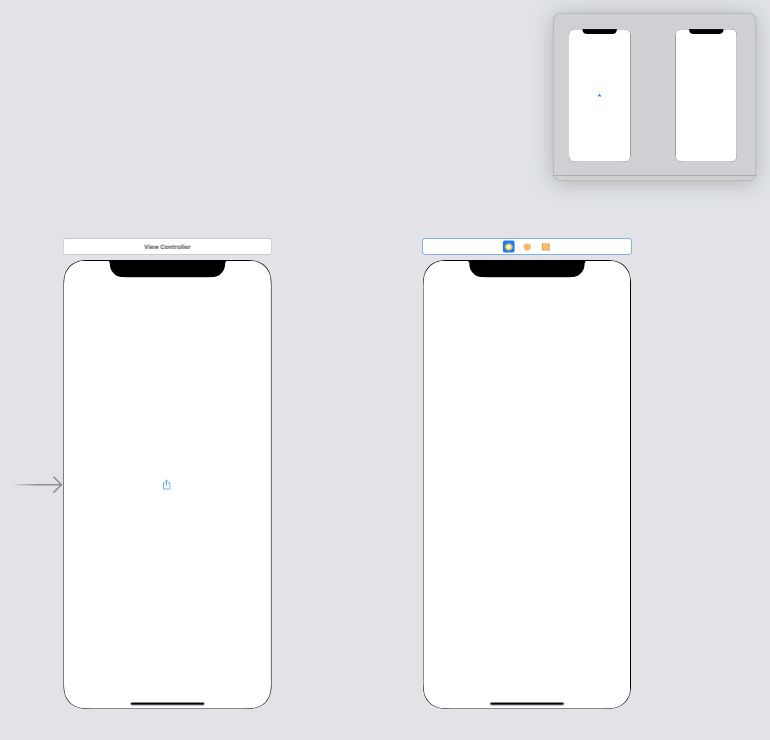
Let’s start with a clean project. Add a share button to the default view controller. For the button image, you can choose square.and.arrow.up to make it look like a native share button.
Add a new view controller which will produce the image to be shared. Do not add a segue from the old view controller to the new one — this will be done programmatically.
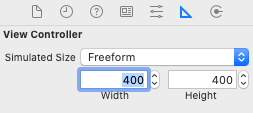
Change it’s size to be a custom value in the Size inspector by selecting Freeform and entering the size.
Also make sure you uncheck **Resize View From Nib**in the Attributes inspector.
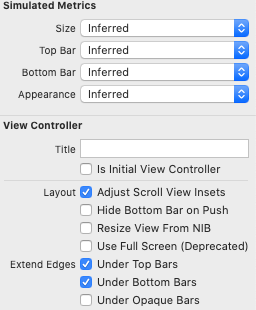
Else the custom size will not appear when we instantiate the view controllor.
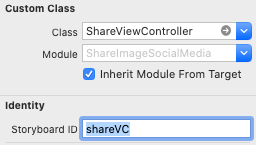
Add a new class for this view controller called ShareViewController and assign it in the storyboard. Also give it the Storyboard ID: shareVC .
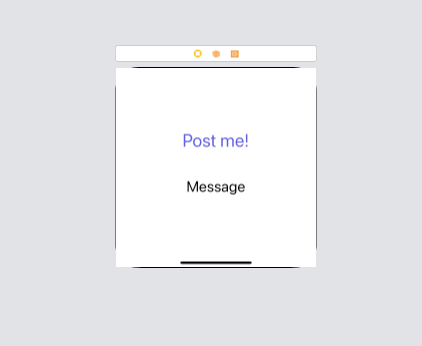
You can add whatever you want to the view controller.
Taking the screenshot
First, let’s make a simple implementation for the ShareViewController :
It updates the message field, and provides a simple populate method for that task (very important if you have non-trivial data types to separate the GUI and logic!).
The most important method is the one that takes the screenshot — without showing the **ShareViewController**:
- First, instantiate the view controller. You don’t need to push it to the navigation controller, since we don’t want to show it.
- Next, begin taking the screenshot with
UIGraphicsBeginImageContextWithOptions. Pass thevc.view.frame.sizesuch that it uses the same size as theShareViewController. The3.0factor is a scaling factor to increase the quality of the image — you will need to dial this in depending on the size of yourShareViewController. - Next, populate the
ShareViewControllerwith the data. - Render the image with
vc.view.layer.render(in: UIGraphicsGetCurrentContext()!). This creates the screenshot from the view controller without showing it. - Finally, create an image from the context and return it. Don’t forget to call
UIGraphicsEndImageContext!
Sharing to social media
Next, in the main ViewController , hook up a short method to the share button:
Here, share is implemented as follows:
- First we take the screenshot, obtaining a
UIImageusing thetake_screen_shotmethod. - Next we set the filename. Note that this is also visible to the user in the activity view controller. Every time the user shares, this image will be overwritten — so it is not taking up too much space on the phone.
- Next store the image and get it’s URL.
- Create the
UIActivityViewController, passing the URL to share. - Set the excluded activities — there’s lots to choose from here, but probably you don’t want the reading list option.
- Finally, present the view controller.
We already did the screen shot method. Next, the save image method:
which should be self-explanatory.
The only missing method is the error message:
This, too, should be self-explanatory.
Result
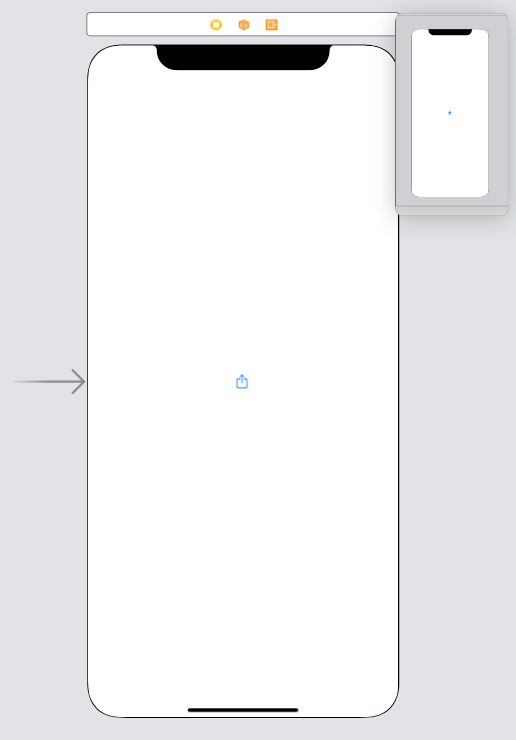
Let’s see how it turned out — pressing the button gives:
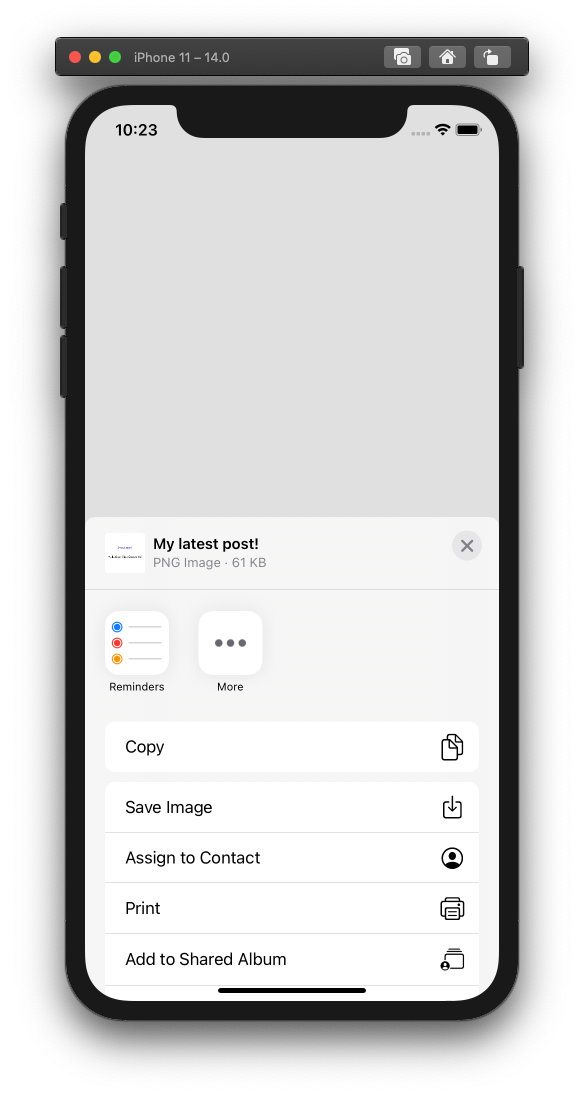
As we can see, there’s a preview of the image we’re sharing. The image is:

Final thoughts
Note that not all of the buttons may work correctly. For example, if you choose Save Image , you may get:
**This app has crashed because it attempted to access privacy-sensitive data without a usage description. The app's Info.plist must contain an NSPhotoLibraryAddUsageDescription key with a string value explaining to the user how the app uses this data.**
So… do that!
You cant find the complete project on GitHub here.
Happy sharing!
Contents
Oliver K. Ernst
October 9, 2020