Convolution calculator for neural networks
Easily choose parameters for convolution layers in neural networks.
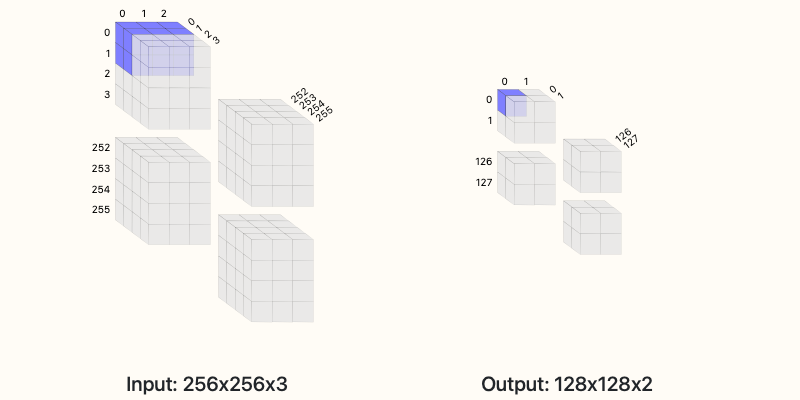
The goal is to help you design convolution layers, in case you are like me and can’t think about things without a pretty picture.

Here you can find the calculator online:
Convolution calculator for CNNs
www.oliver-ernst.com
You can also embed it on your website — it’s a JS project, with dependencies on jQuery, Bootstrap and Google material icons. You can follow the instructions to embed it on your website from the project’s GitHub page:
GitHub - smrfeld/convolution-calculator: Convolution calculator for CNNs
github.com
I’ll leave the short explanation of the calculator to it’s about page. In the rest of this article, I’ll explain how I made it.
How I made it
Try 1/4
I made the first demos in Mathematica notebooks. The great part about Mathematica is that, unlike Python, it is incredibly easy to mix graphs and 3D objects like cubes. The downside is, of course, it will mostly stay stuck in your Mathematica notebook (actually, there is a way to share Mathematica content online, but it is underused).
Try 2/4
Next, I switched to Python. I figured I could make a web app using Dash and plotly that shows 3D cube-based models and lets the user change the options for the convolution. After exploring this, I didn’t like the output of the 3D models this way —the end product looked awkward and didn’t behave smoothly, since it’s trying to pass a plot off as an interactive graphic.
Try 3/4
I then figured I could use Python to generate an SVG image that is shown to the user. SVG is a great file format for the web because you can have different pieces which you can hide directly from JS. SVG is essentially XML, so it directly looks like HTML code, and is directly “embedded” in the final static HTML page.
To write and debug code fast, I used pycairo to generate the SVG files directly from Python. This is a neat project, although for working with SVG files alone it’s not really necessary in Python.
The downside to all this Python fun is that the final product cannot be a static web page — Python has to run somewhere, so Dash or Flask or whatever needs a server. For small projects Heroku can be a good choice for hosting your Python web app, but this is still a lot more of a headache than a static page. Static pages can be hosted over GitHub pages, which is free, and free is awesome.
Try 4/4
This finally led to the JS implementation that’s in the final product. It’s built using jQuery, and also uses Bootstrap 4 + Google Material icons (which you can search through here). It ended up being a much bigger headache than I expected, trying to make 3D object appear nice through 2D SVG images, including resizing with the browser window and shading for inside/outside pieces, but I think the end result is worth it.
Embed it on your site
The calculator is released under MIT license, so you can embed it on your site.
- Add the dependencies: jQuery, Bootstrap 4 and Material icons:
<!-- Bootstrap CSS -->
<link rel="stylesheet" href="https://stackpath.bootstrapcdn.com/bootstrap/4.3.1/css/bootstrap.min.css" integrity="sha384-ggOyR0iXCbMQv3Xipma34MD+dH/1fQ784/j6cY/iJTQUOhcWr7x9JvoRxT2MZw1T" crossorigin="anonymous">

<!-- Google Material Icons -->
<link href="https://fonts.googleapis.com/icon?family=Material+Icons" rel="stylesheet">

<!-- JQuery -->
<script src="https://ajax.googleapis.com/ajax/libs/jquery/3.5.1/jquery.min.js"></script>
- Add the convolution calculator JS file. I ran across this awesome
jsDelivrCDN option (which even makes the minified version for you), so you can just use:
<script src="https://cdn.jsdelivr.net/gh/smrfeld/convolution-calculator/convCalc.min.js"></script>
- Insert the div where the content will be loaded:
<div id='ccContainer'></div>
- Finally, trigger the JS to inject the drawing into the div when the page loads:
<script>
    $(document).ready(function() {
        // Set up
        ccSetUp();
    });
</script>
This will populate the ccContainer div.
Thanks for reading — leave criticisms in the comments, or contribute on GitHub if you’re up for it — just don’t be too harsh about my JS code :)
Contents
Oliver K. Ernst
December 27, 2021
