The missing manual to SwiftUI animations
Time to get those animations working.

Ever since SwiftUI came out I’ve been a big fan. Finally no more storyboards, no more duplicate nonsense of half building in code and half in a GUI.
But animations lately reminded me that there’s still a lot of less than obvious tricks you have to learn in SwiftUI. Here’s three takeaways to get you started building powerful animations in SwiftUI.
-
The basics: there are two mechanisms for SwiftUI animations
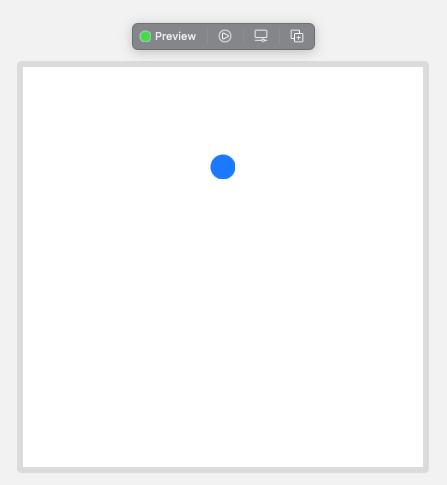
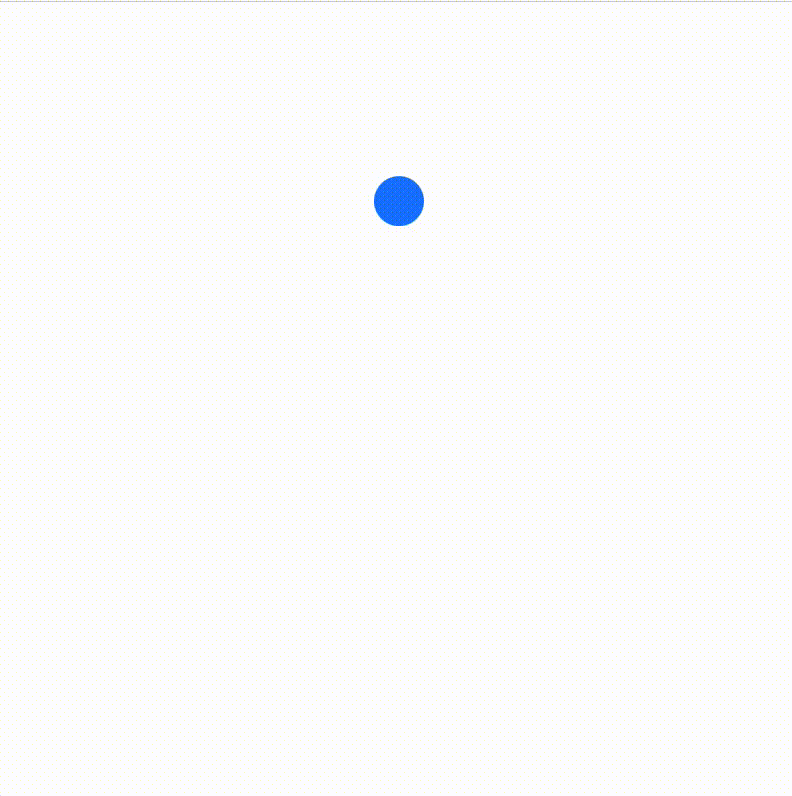
Let’s start with a simple problem: on an 800x800 canvas, you want to animate a circle moving from one point to another. I’ll start by defining two states for the position of the circle: xpos and ypos. Then I’ll set the position of the circle with the positionmodifier.
Simple so far — here’s our preview:
Next I’ll show you both ways to animate it’s motion. The first is to use the animationmodifier. This gets attached after the modifier that you want to animate — in this case, after the position modifier.
As part of the animation modifier, you must specify the value to monitor for changes:
.position(x: xpos, y: ypos)
.animation(.easeInOut(duration: 2.0), value: ypos) // Animation follows the position modifier
Here we are monitoring changes to the ypos — this means that whenever you change ypos , the circle will move to the new position animated.
To trigger the change in the ypos , you can use for example the onAppear method:
.onAppear {
   ypos = 600 // Trigger the animation to start
}
Here is the complete code and the result:
One problem with this approach is the value: ypos argument — what if you want to animate both changes in xpos and ypos ? On top of that, it’s a bit confusing to follow — we have to keep in mind that the animation modifier modifies the previous modifier (the position modifier)… ??? This can easily lead to mistakes — if you put the animation modifier directly after the Circle(), you will make it appear/disappear!
The second way to do animations is more intuitive to me — using withAnimation . Instead of the .animation modifier, we use:
withAnimation(.easeInOut(duration: 2.0)) {
   // withAnimation tells that states modified in closure are animated
   ypos = 600
}
The withAnimation block monitors any State that are changed in the closure and animates them. This is the much cleaner solution to me. Now we can also freely change the xpos in the same block, which will also animate the position in the horizontal direction.
-
Use animatableData to perform smarter animations along custom paths
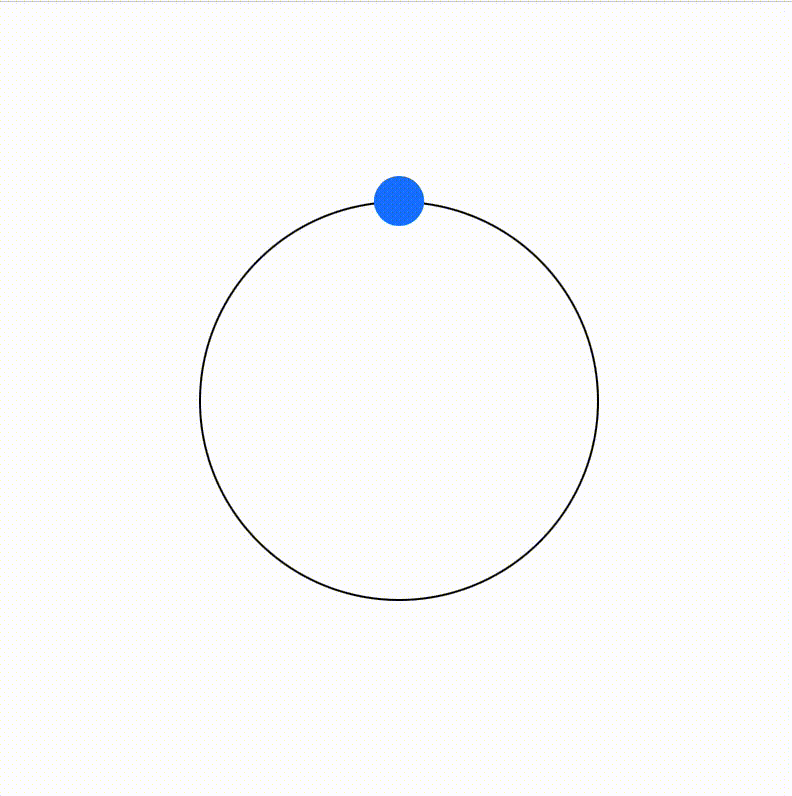
Let’s make it more complicated — let’s animate the motion of the small blue circle around a bigger black circle:
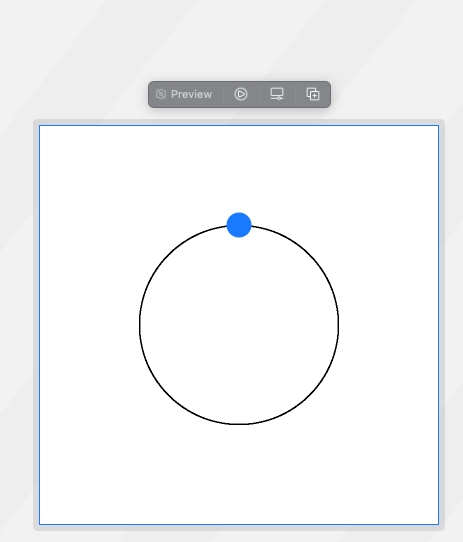
To draw this I added the following to the ZStack:
Circle()
   .strokeBorder(.black, lineWidth: 2)
   .foregroundColor(.clear)
   .frame(width: CGFloat(2*radius), height: CGFloat(2*radius))
   .position(x: 400, y: 400)
Now instead of an xpos and ypos state variable, we have an angle around the circle:
@State var angle: Float = Float.pi / 2.0
and the position of the smaller blue circle is given by:
.position(x: CGFloat(400 + radius * cos(angle)), y: CGFloat(400 - radius * sin(angle)))
In the animation, we try to change the angle from the initial pi/2 to -pi/2 :
.onAppear {
   withAnimation(.easeInOut(duration: 2.0)) {
      // withAnimation tells that states modified in closure are animated
      angle = -Float.pi / 2.0
      }
   }
Let’s see what happens:
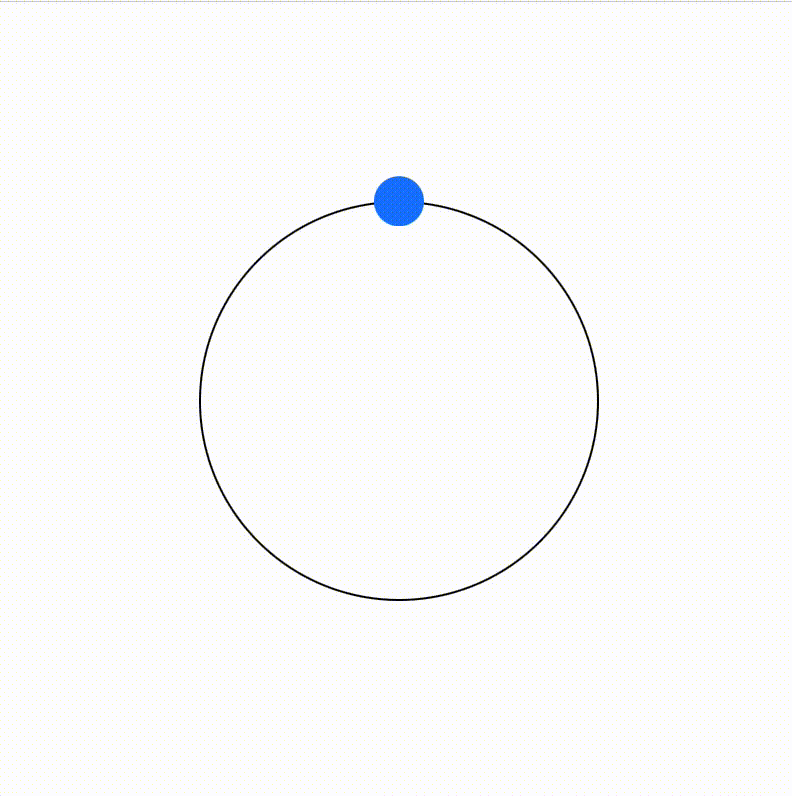
… well … the theory was good, anyways.
Go around the circle!
How do we get it to go around? With the animatableData property.
First, we define a custom Shape — an animatable circle shape called CircleWithAnimatableAngle:
struct CircleWithAnimatableAngle: Shape {
   var angle: Float
}
The path function draws the circle as follows:
func path(in rect: CGRect) -> Path {
   return Path { path in
      let x = CGFloat(400 + radius * cos(angle))
      let y = CGFloat(400 - radius * sin(angle))
      path.move(to: CGPoint(x: x, y: y))
      path.addEllipse(in: CGRect(x: x - 25.0, y: y - 25.0, width: 50.0, height: 50.0))
      }
   }
Additionally, we add the animatableData property, which just modifies the angle:
var animatableData: Float {
   get { angle }
   set { angle = newValue }
}
Finally then we can replace the Circle in the body view with the CircleWithAnimatableAngle :
CircleWithAnimatableAngle(angle: angle, radius: radius)
   .foregroundColor(.blue)
Here is the complete code and result:
Hooray! Much better.
But there is an obvious problem. We are now dealing with a shape — what about any other kind of SwiftUI object? How about addingText that we want to move alongside the circle?
We need a more general solution.
-
The general solution: AnimatableModifier
This is the real secret of animations in SwiftUI: every animation gets it’s own AnimatableModifier. Here is the AnimatableModifier for the circle animation:
We see the same animatableData as before. But now instead of a path method for a shape, we implement the body method that returns some modified view. In this case, we are using the angle to update the position of the view.
To apply it, we just use the .modifier modifier:
.modifier(CircleAnimation(angle: angle, radius: radius))
We can add this modifier to anything —any SwiftUI object. Then when we change the angle in the withAnimation block, the modifier will control how the changing angle translates into changing position (or whatever other modifiers are being changed).
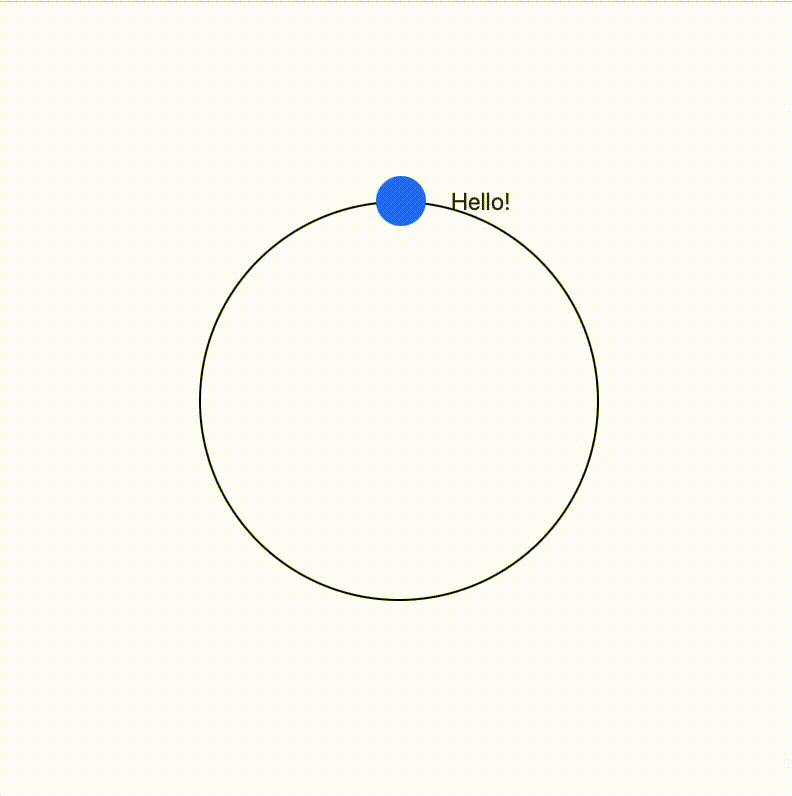
For example, we can create a ZStack involving both the Circle and Text :
ZStack {
   Circle()
      .frame(width: 50, height: 50)
      .foregroundColor(.blue)
   Text("Hello!")
      .offset(x: 80)
      .font(.system(size: 24))
}
.modifier(CircleAnimation(angle: angle, radius: radius))
Here is the result and complete code:
Final thoughts
We worked our way from simple .animation modifiers to inheriting from the AnimatableModifier protocol. I really prefer this final approach, since it is not only more powerful in letting you control the animations, but also more readable — what data is really being animated is clearly defined in the animatableData property. Additionally, it’s reusable — it can be applied to any SwiftUI object to create consistent animations — which to me makes it worth the extra code.
Thanks for reading!
Contents
Oliver K. Ernst
April 12, 2022